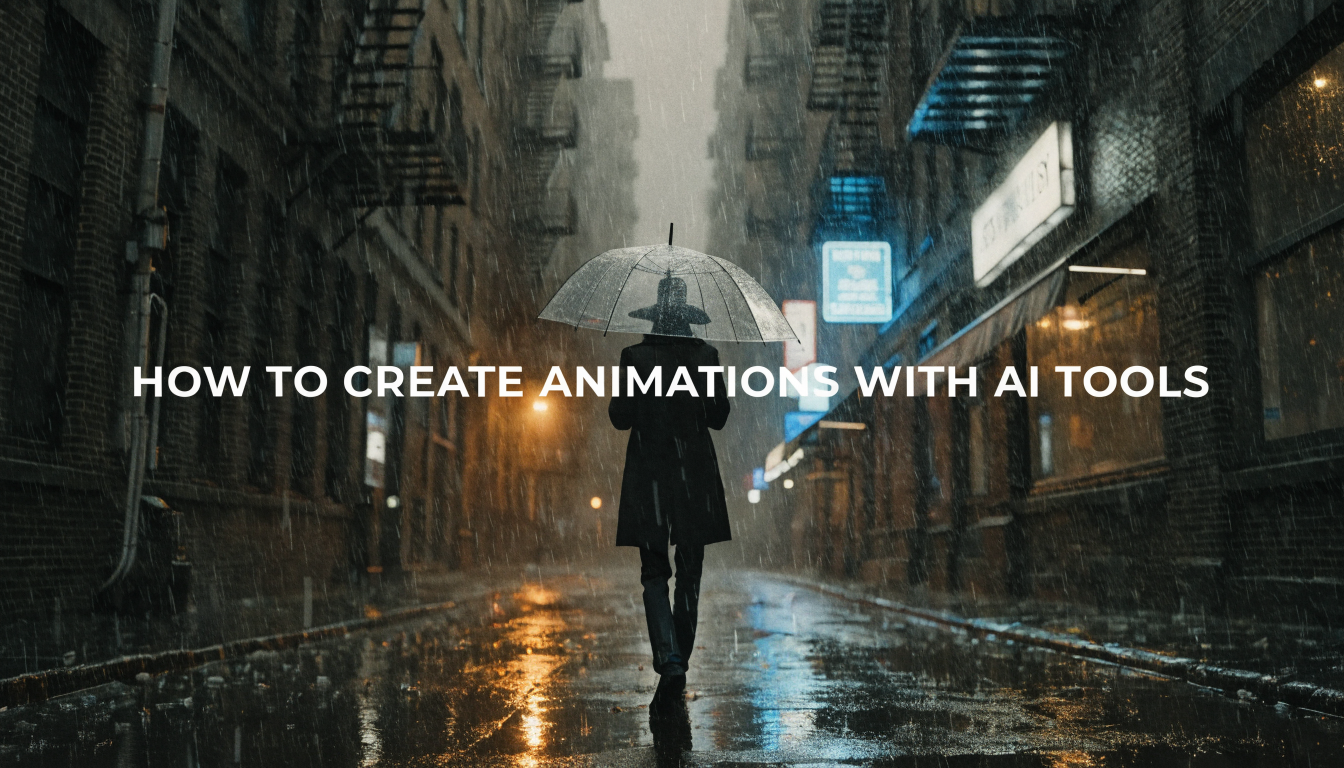
A few years ago, creating smooth animations required expensive software, months of practice, and a solid understanding of keyframe interpolation. That barrier is mostly gone. AI animation tools now let creators produce motion graphics, character animations, and short video clips from text prompts or still images. The technology has matured enough that indie creators, small studios, and marketing teams are using it for real production work, not just experiments. If you want to explore what is possible with AI video generation, the options in 2026 are surprisingly deep.
This guide walks through the practical steps of creating animations with AI, from initial concept through final export. The focus is on workflow rather than tool promotion, so you can adapt these steps regardless of which platform you use. For a broader look at the best AI video generators available right now, we have a separate comparison worth reading.
Whether you are making social content, explainer videos, or artistic shorts, the core process is similar. Understanding that process is more valuable than memorizing any single tool's interface, because the tools keep changing while the fundamentals of turning images into motion stay consistent.
Start with a Clear Concept
AI animation tools are fast, but "fast" can also mean "fast at producing the wrong thing." Before opening any tool, write down what your animation needs to communicate. A 10-second product demo has completely different requirements than a 30-second narrative clip. Knowing the format, length, and mood upfront saves hours of re-generation. If you have never worked with AI-generated headshots or portraits, starting with still image generation is a good way to learn prompting before adding the complexity of motion.
Storyboarding still matters, even when AI handles the motion. Sketch rough frames (pen and paper works fine) showing key moments in your sequence. Most AI tools work best with clear, specific prompts, and storyboard notes translate directly into better prompt writing. You do not need artistic skill for this step. Stick figures and arrows communicating camera movement are enough. The introduction to AI video creation on BasedLabs covers more on prompt structure if you want a deeper dive.
Choose the Right Type of AI Animation Tool
AI animation breaks into several categories, and picking the wrong type for your project wastes time. Text-to-video generators like Runway Gen-4, Kling, and Veo 3 create video clips directly from written descriptions. These work best for short scenes (5-15 seconds) where you want the AI to handle both visuals and motion.
Image-to-video tools take a different approach. You provide a still image and the AI adds motion to it. This gives you more control over the starting visual, which is useful when you have specific brand assets or illustrations you want to bring to life. Tools like Stable Video Diffusion and Seedance work well here.
Character animation platforms focus specifically on making figures move. These range from full-body motion capture tools like DeepMotion to AI avatar generators that animate a face from a single photo. If your project centers on a speaking character or a walking figure, dedicated character tools are more reliable than general-purpose video generators.
Build Your Animation Step by Step

The most reliable workflow starts with static visuals. Generate or prepare your key frames first using an AI image generator. Get the style, composition, and characters right as still images before adding any motion. This approach gives you checkpoints where you can course-correct without re-generating entire video clips. Many creators find that free AI video tools can handle this initial frame generation adequately.
Once your key frames look right, apply motion. This is where a pipeline-style approach helps. Rather than relying on a single tool's text-to-video output, you can chain steps together: generate the image, run it through an image-to-video model, then apply upscaling or style transfer. Platforms like wireflow.ai let you connect multiple AI models into a single pipeline, so the output of one step feeds directly into the next without manual file transfers.
After generating raw animated clips, review each one at full speed and in slow motion. AI-generated motion often has subtle artifacts: fingers that phase through objects, backgrounds that warp unexpectedly, or faces that lose consistency between frames. Flag these issues and either re-generate with adjusted prompts or plan to fix them in post-production. The AI photo enhancement tools roundup covers upscalers and refinement models that can help clean up individual frames.
Add Sound and Polish
Animation without sound feels incomplete. AI audio tools have gotten good enough for production use. For background music, tools like Suno and Udio generate genre-specific tracks from text descriptions. For voiceover, AI text-to-speech platforms now produce natural-sounding narration in multiple languages with emotional range.
Editing ties everything together. Export your AI-generated clips and bring them into a video editor (DaVinci Resolve, CapCut, or Premiere) for sequencing, timing adjustments, and transitions. Add text overlays, adjust color grading, and sync audio. This manual editing step is where your animation goes from "AI output" to "finished piece." For music generation specifically, matching the track mood to your animation style makes a noticeable difference.
Where AI Animation Falls Short
Current AI animation tools struggle with long-form consistency. Maintaining the same character across 60+ seconds of footage remains difficult. Most tools work best in 5-15 second bursts that you stitch together manually. Complex physics interactions (cloth simulation, fluid dynamics, realistic hair movement) are also weak points compared to traditional 3D rendering engines. Some recent reviews of AI evaluation tools highlight how quickly the accuracy landscape shifts as models improve.
The practical workaround is to combine AI-generated clips with traditional techniques. Use AI for the heavy lifting (generating base motion, creating backgrounds, producing variations) and manual tools for the precision work (lip sync timing, continuity fixes, final compositing). This hybrid approach is what most professional studios actually use, and it produces better results than either method alone. If you are looking for alternatives to the major video platforms, testing multiple tools and combining their outputs is a solid strategy.
FAQ
What is the easiest AI animation tool for beginners?
For absolute beginners, text-to-video tools have the lowest learning curve. You type a description and get a video clip. Runway and Kling both offer free tiers with enough credits to learn the basics. The anime avatar creators on BasedLabs are also a gentle starting point for character-focused work.
How long does it take to create an AI animation?
A single 5-10 second clip typically takes 1-5 minutes to generate, depending on the model and resolution. A finished 30-second animation with editing, sound, and polish usually takes 2-4 hours of total work. That is dramatically faster than traditional animation but still requires real effort for quality results. For quick social clips, turning text into video is the fastest path.
Can I use AI animations for commercial projects?
Yes, but check the licensing terms of your specific tool. Most major platforms (Runway, Kling, Pika) allow commercial use on paid plans. Free tiers often have restrictions. Always verify the terms before publishing or selling AI-generated content.
Do I need a powerful computer for AI animation?
Most AI animation tools run in the cloud, so your local hardware matters less than it used to. A stable internet connection and a modern browser are the main requirements. Some tools offer desktop apps that benefit from a GPU, but cloud-based generation handles the compute-intensive work on their servers. The free AI image generators roundup lists several browser-based options that work on any machine.
How do I maintain character consistency across multiple clips?
This is one of the hardest problems in AI animation. The best current approach is to generate a detailed reference image of your character, then use image-to-video tools with that reference as input for each scene. Some platforms offer character locking or seed consistency features. For TikTok and short-form content, slight inconsistencies matter less than they do in narrative work.
What resolution should I target for AI animations?
For social media, 1080p (1920x1080) is the standard target. Most AI video tools generate at 720p or 1080p natively. If you need 4K, generate at the highest available resolution and use an AI upscaler in post-production. The background removal and editing tools available today also work at high resolutions for preparing assets before animation.
Can AI tools create 3D animations?
Some tools are beginning to support 3D-style output, but true 3D mesh animation with full camera control is still limited. Most AI animation tools produce 2D video that may look 3D through learned perspective and lighting. For actual 3D workflows, traditional tools like Blender combined with AI-assisted texturing and motion give better results right now.
Conclusion
AI animation tools have reached a point where the creative bottleneck is ideas, not technical skill. The workflow is straightforward: plan your concept, generate key frames, apply motion, add sound, and polish in an editor. A node-based AI canvas can streamline the multi-step pipeline by connecting generation, animation, and post-processing models in a single workspace.
The tools will continue improving, but the fundamentals covered here will stay relevant. Start with a clear concept, work in stages rather than trying to generate a finished animation in one prompt, and always plan for a manual editing pass. That combination of AI speed and human judgment is what produces animations that actually look good. For more inspiration, browse what other creators are making with these same tools.