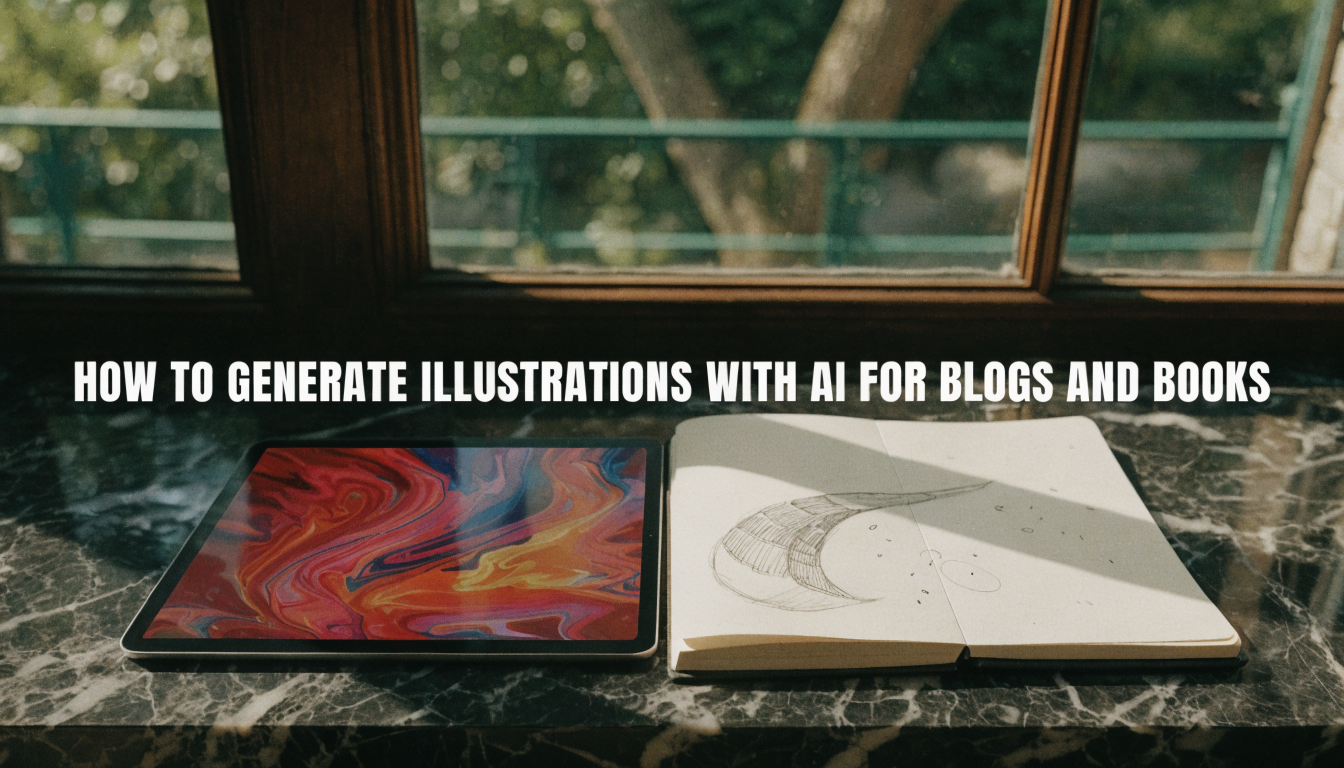
Custom illustrations used to require hiring a freelance artist or learning to draw yourself. Neither option was fast or cheap. Today, AI image generators can produce blog headers, chapter art, spot illustrations, and full-page spreads in seconds, at a fraction of the cost. Whether you are a solo blogger who needs a hero image every week or an indie author illustrating a children's book, the workflow is the same: write a prompt, pick a style, and refine.
The quality ceiling has risen sharply over the past year. Models like Recraft v4, FLUX, and GPT Image now handle complex compositions, consistent color palettes, and even legible text overlays. The gap between AI-generated art and professional illustration is narrowing fast, especially for editorial and stylized use cases.
Choosing the Right AI Model for Your Style
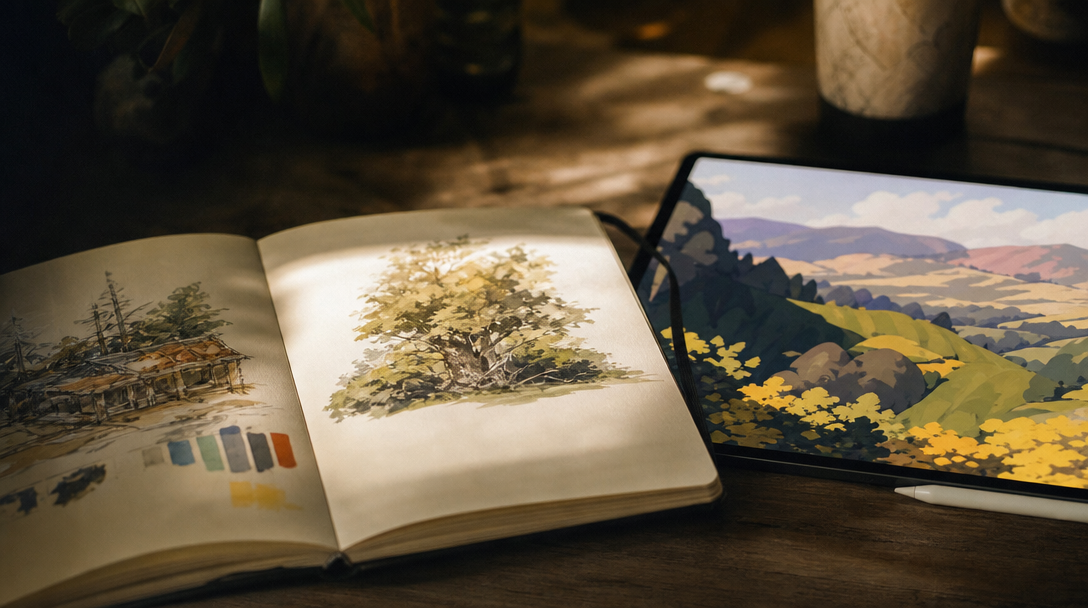
Not every model suits every illustration style. The first decision is whether you want photorealistic renders, flat vector art, painterly scenes, or something in between. For storybook and watercolor aesthetics, FLUX models handle soft lighting and painterly textures well. They produce warm, slightly imperfect outputs that read as hand-painted.
For clean vector-style graphics with bold outlines and limited color palettes, Recraft v4 is a strong choice because it also renders text overlays reliably. If you need photorealistic scenes for a non-fiction book, GPT Image delivers consistent results with minimal prompt engineering. Some creators combine models across a single project, using one for character close-ups and another for wide landscapes, then unify the look with a shared color grade.
Planning Your Illustration Set Before You Prompt
Jumping straight into generation without a plan leads to inconsistent results and wasted credits. Treat your illustration set the way a traditional art director would treat a commission brief.
For a blog, audit your content calendar. Most posts need one hero image and two to four supporting visuals per 1,500 words. Map each image slot to a section heading so you know exactly what each illustration should communicate. For a book, sketch a rough plan: one image per chapter opening for novels, one every three to five pages for picture books. Number each slot and write a one-sentence description of the scene before touching any AI generation tool.
This planning step also helps you build a style prompt library. A style prompt is a reusable prefix you prepend to every generation call. It locks in the color palette, line weight, lighting direction, and overall mood so all images in a set look cohesive.
Writing Effective Prompts for Illustration
The prompt is everything. A vague prompt produces a generic image. A precise prompt produces something that looks intentional. Keep your scene description short: 15 to 25 words that name a single subject, a setting, and a mood. Avoid stacking adjectives. Let the model fill in the composition. For inspiration, browse community prompt examples to see what works.
For consistent series work, build a template:
- Style prefix: "Flat gouache illustration, limited palette of navy, coral, and cream, thick outlines, no gradients, soft natural lighting"
- Scene slot: "A child reading under a blanket fort" or "A cat sitting on a stack of books"
- Negative guidance: "No photorealism, no 3D rendering, no text"
Prepend the style prefix to every prompt. This is how professional illustrators working with AI maintain visual unity across a 30-image book or a year of blog posts. If your project involves recurring characters, include their key visual traits (hair color, clothing, accessories) in every prompt. Skipping this is the most common reason AI-generated character art loses consistency across pages.
Building a Multi-Step Illustration Pipeline
For anything beyond a one-off blog header, you want a repeatable pipeline. The same logic applies to any AI-powered content workflow. A basic flow looks like this:
- Brief: Write a one-line description for each image slot
- Style lock: Finalize your style prefix prompt
- Batch generate: Run all prompts through your chosen model
- Review: Compare outputs side by side for consistency
- Refine: Re-generate any images that drift from the style
- Post-process: Crop, color-correct, and export at publication resolution
Some creators automate steps 3 through 5 using a visual AI workflow builder that chains prompt generation, image creation, and quality checks into a single run. This is especially useful for book projects where you are generating 20 or more illustrations and need to maintain consistency without manually babysitting each output.
For blog workflows, even a simple two-step process (style prefix plus scene prompt, saved as a reusable template) saves hours over a quarter of weekly publishing. Creators who build no-code workflows can skip the manual loop entirely.
Practical Tips for Blog Illustrations
Blog illustrations serve a different purpose than book art. They need to load fast, look good at small sizes, and reinforce the article's argument without overwhelming the text. Here are a few rules that work in practice:
- Hero images: Generate at 16:9 for standard blog headers. Include the article title as a text overlay if your CMS does not handle text separately.
- Section illustrations: Keep them simple, one subject, one mood. Complex multi-element scenes shrink poorly and distract from prose.
- File format: Export as WebP for web (smaller files, same quality) and PNG for print or high-resolution contexts.
- Consistency across posts: Reuse the same style prefix for all images in a content series. Readers notice when one post has watercolor art and the next has photorealistic AI renders.
If you are publishing at scale, consider batching your illustration work. Generate all images for the coming week in one session rather than creating them post by post. This keeps your style consistent and reduces manual effort significantly.
Illustrating a Book From Start to Finish
Book illustration is a bigger commitment than blog art. A 32-page children's picture book might need 15 to 20 full-page illustrations plus a cover. A non-fiction business book might need 10 chapter openers and a handful of diagrams or visual aids.
Start by creating a master brief document. List every illustration slot with a scene description, the page number, and any characters who appear. Then generate a small test batch (three to five images) to validate your style prompt before committing to the full set.
For character consistency, some creators use image-to-image workflows. Generate one reference image of each character, then feed that reference into subsequent generations as a style anchor. Newer model features like character-consistent generation and reference-image conditioning are closing the consistency gap quickly.
Once all images are generated, do a print test. What looks crisp on screen may show banding or color shifts in print. Export at 300 DPI minimum for physical books. For ebooks, 150 DPI is sufficient, but test on multiple devices (Kindle, iPad, phone) before finalizing. Good photo enhancement tools can help with post-production cleanup.
FAQ
What is the best AI model for book illustrations?
It depends on the style. For watercolor and painterly looks, FLUX models are strong. For clean vector and flat illustration, Recraft v4 excels. For photorealistic scenes, GPT Image is reliable. Test two or three models with the same prompt before committing to one for a full project.
Can I use AI-generated illustrations commercially?
Most major AI image generators (Midjourney, DALL-E, Stable Diffusion, FLUX) allow commercial use of outputs under their current terms. However, licensing terms change, so always verify with the platform you are using before publishing.
How do I keep characters consistent across multiple illustrations?
Use a detailed character description in every prompt. Include specifics: hair color, outfit, accessories, body type. For tighter consistency, use image-to-image generation with a reference image of the character.
How many illustrations does a typical blog post need?
One hero image plus two to three supporting images for a 1,500-word post. Longer posts (3,000+ words) benefit from four to six images. Place them near the section headings they relate to.
What resolution should I generate illustrations at?
For web/blog use, 1920x1080 or 1440x900 is sufficient. For print books, generate at the largest resolution your model supports (typically 2048x2048 or higher) and export at 300 DPI.
Do AI illustrations hurt SEO?
No, as long as you include descriptive alt text and serve images in optimized formats (WebP for web). Search engines evaluate alt text and page speed, not whether an image was AI-generated or hand-drawn.
Can I combine AI illustrations with hand-drawn elements?
Yes. Many illustrators use AI to generate base compositions, then paint over them digitally or add hand-drawn linework. This hybrid approach is common in editorial illustration and picture books. Tools like the Wireflow platform can automate the base generation step while you focus on the finishing touches.
Wrapping Up
AI illustration tools have matured to the point where solo creators can produce professional-quality visuals for blogs and books without a design background. The key is treating AI as a tool within a structured workflow: plan your illustration set, lock a style prompt, batch your generations, and refine in post-production. The creators getting the best results are the ones who combine clear creative direction with the speed of generative AI platforms.