
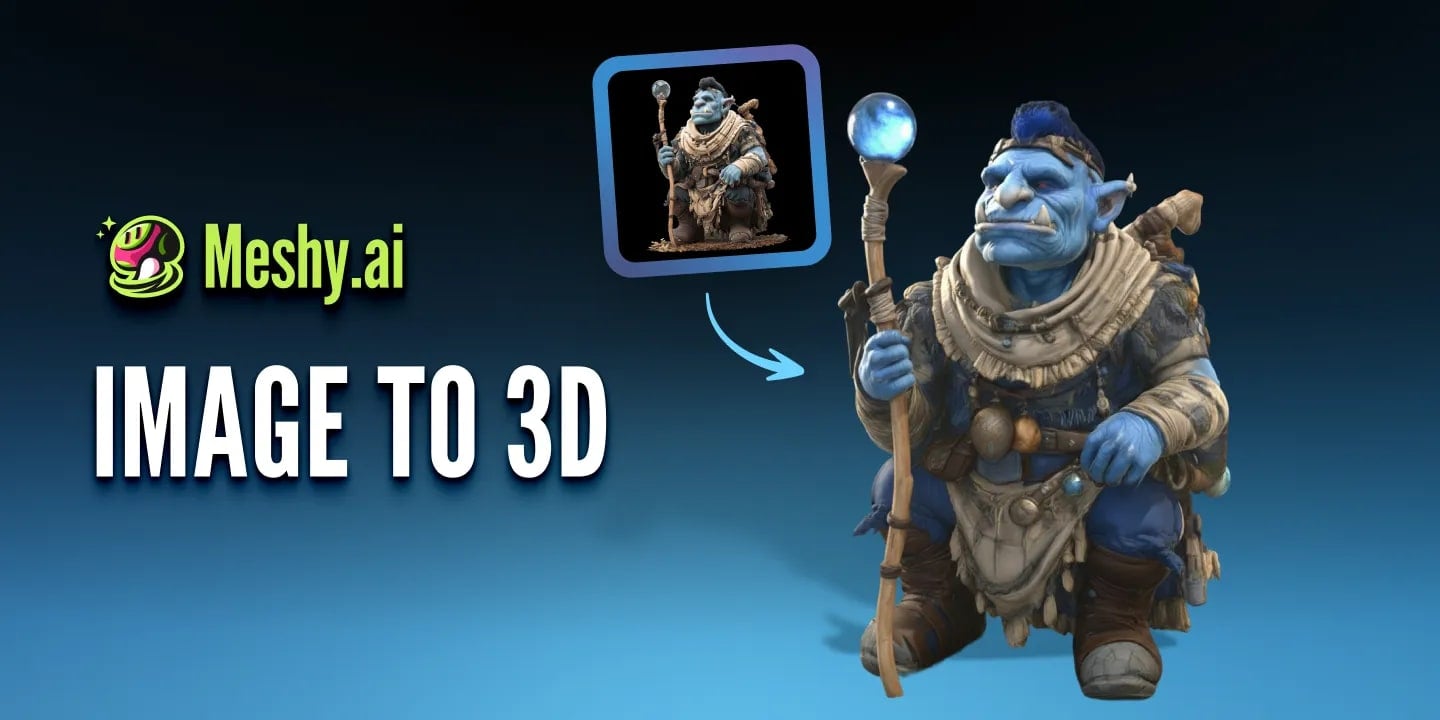
AI image generators can create polished characters, props, product concepts, and environments in seconds. The next challenge is turning a promising 2D concept into something that can actually move through a 3D workflow.
Image-to-3D tools make that transition faster, but the source image still matters. A clear reference can produce a much better starting point than an image with heavy occlusion, conflicting perspectives, or a cluttered background.
The most practical approach is to treat AI-generated 3D models as starting assets. Generate the model, inspect the geometry, choose an appropriate export format, and then refine it for the final application.
Why AI-Generated Images Work Well as 3D References
An AI-generated image can be useful as a 3D reference because the concept has already been visually defined.
Instead of asking a 3D tool to interpret a vague idea, you can provide a reference that establishes:
- the overall silhouette;
- proportions;
- major surface details;
- clothing or accessories;
- product shape;
- general visual style.
This is particularly useful during concept development. A game team might generate several prop designs before choosing one for 3D production. A product team could explore different forms before building a more precise model. A creator might develop a character visually before deciding whether it should become a game asset, animation asset, or printable figure.
Not every AI image needs to become 3D. The workflow is most useful when the selected concept has a clear reason to continue into a three-dimensional format.
Choose the Right Source Image
Image quality affects how much information the 3D-generation system has available.
A strong source image usually has a clearly visible subject, a readable silhouette, and limited obstruction.
For better results, start with an image that has:
A Clear Subject
The object or character should be easy to separate visually from the background.
Busy environments, overlapping objects, or heavy foreground elements can make the reference harder to interpret.
Useful Lighting
Extreme shadows can hide important structural information. Consistent lighting makes the object's shape easier to read.
Limited Occlusion
If a character's arm covers most of the torso or a product is partially hidden behind another object, the missing surfaces have to be inferred.
Multiple Views When Available
A single image may be enough for an early model, but several views can reveal information that one angle cannot show.
Front, side, rear, or three-quarter references can provide additional information about the shape of an object.
Turn the Image into a 3D Starting Point
Once the reference is ready, the next step is generation.
An AI 3D generator such as Meshy can create a model from a single image and also supports multiple images of the same object. Multiple viewpoints provide additional information about hidden surfaces and geometry, which can be useful when the reference set is consistent.
Meshy supports common export formats including OBJ, FBX, GLB, STL, USDZ, BLEND, and 3MF. Plan limits and paid features change over time, so it is worth checking the Meshy Help Center for the current details before committing to a workflow.
At this stage, the goal should be to produce a useful base asset rather than assume that the first result is ready for production.
Review the Generated Geometry
Always inspect the model from several angles before moving it further down the pipeline.
Pay particular attention to:
- silhouette and proportions;
- hidden surfaces;
- hands, feet, handles, or other small structures;
- holes or distorted geometry;
- surface continuity;
- material placement;
- model scale;
- topology.
A model that looks convincing from the same angle as the source image may still contain problems on the back or underside.
If the asset is important, compare the generated model against the original reference from multiple viewpoints rather than judging it from a single preview.
Choose the Right Export Format
There is no single best 3D format for every workflow.
GLB and glTF
GLB and glTF are widely used for real-time and web-based 3D delivery. The Khronos Group defines GLB as the binary container format for glTF, allowing asset data to be packaged into a single binary file. You can review the official glTF specification for more information.
FBX
FBX is commonly used in animation, DCC, and game-development workflows where assets move between different production applications.
OBJ
OBJ remains useful for general mesh exchange and is supported by a broad range of 3D software.
STL
STL is commonly used in 3D-printing workflows because it represents the surface geometry required by many slicers.
Choose the format according to what happens next rather than selecting one purely because it produces the smallest file.
Refine the Asset for Its Final Use
Different applications require different types of preparation.
For Games
A game asset may need:
- topology cleanup;
- UV checks;
- texture refinement;
- polygon optimization;
- rigging where appropriate;
- scale verification;
- testing inside the target engine.
Visual quality alone does not guarantee that an asset will perform well in real time.
For Product Visualization
Product assets often need additional attention to:
- proportions;
- material appearance;
- surface quality;
- presentation lighting;
- visual consistency with the original design.
If dimensional accuracy is important, a concept-generation workflow should not replace engineering validation.
For 3D Printing
A printable model should be checked for:
- model scale;
- wall thickness;
- disconnected geometry;
- thin or fragile details;
- support requirements;
- print orientation;
- first-layer contact.
Always inspect the final model in the intended slicer before printing.
A Practical Image-to-3D Workflow
A straightforward workflow can look like this:
AI-generated image → source-image review → image-to-3D generation → geometry inspection → export → application-specific refinement → final testing
The value of this sequence is that each stage has a clear purpose.
Image generation establishes the visual idea. Image-to-3D creates the initial model. Inspection catches obvious problems. Export moves the asset into the appropriate production environment. Refinement and testing determine whether it is actually suitable for its intended use.
Common Mistakes to Avoid
Using a Cluttered Reference
Complex backgrounds and overlapping objects make the subject harder to interpret.
Expecting Hidden Geometry to Be Perfect
A single image does not show every surface. Areas outside the camera view must be inferred.
Skipping Scale Checks
Always verify scale after generation and again after importing the model into the target software.
Treating Every Export Format the Same
Choose a format based on the next application in the workflow.
Assuming Generated Topology Is Production-Ready
Game, animation, and other demanding workflows may still require topology cleanup or optimization.
Skipping Final Testing
An asset should always be checked in the environment where it will actually be used.
FAQ
Can You Turn an AI-Generated Image into a 3D Model?
Yes. Image-to-3D tools can use AI-generated artwork as a reference for creating an initial 3D model.
Is One Image Enough to Create a 3D Model?
It can be enough for an initial result, but surfaces that are not visible must be inferred. Multiple consistent views can provide more information about the object's structure.
Does Using Multiple Images Improve Image-to-3D Results?
Multiple views can provide additional information about hidden sides and geometric details, especially when all images show the same object consistently.
What File Format Should I Use for a 3D Model?
It depends on the next stage. GLB/glTF is common for web and real-time delivery, FBX for many animation and game workflows, OBJ for general mesh exchange, and STL for many 3D-printing workflows.
Can AI-Generated 3D Models Be Used in Blender?
Yes, provided the model is exported in a format Blender supports, such as GLB, FBX, or OBJ.
Are AI-Generated 3D Models Ready for Games or 3D Printing?
Not automatically. Game assets may require optimization and technical preparation, while printable models should be checked for scale, geometry, supports, and other print requirements.
Final Thoughts
Turning an AI-generated image into a 3D model can shorten the distance between concept and prototype, especially when a visual idea has already been established.
The strongest workflow does not stop at generation. Start with a clear source image, inspect the resulting model carefully, choose an export format that matches the next step, and refine the asset according to its final use.
That approach makes image-to-3D useful as part of a real production process rather than treating the first generated model as the finished result.